How to Prepare Your Home for Professional Listing Photos
If you are planning to sell your home, one of the most important steps in the process is preparing for professional listing photos. High-quality real estate photography can significantly impact how quickly your home attracts buyers online.
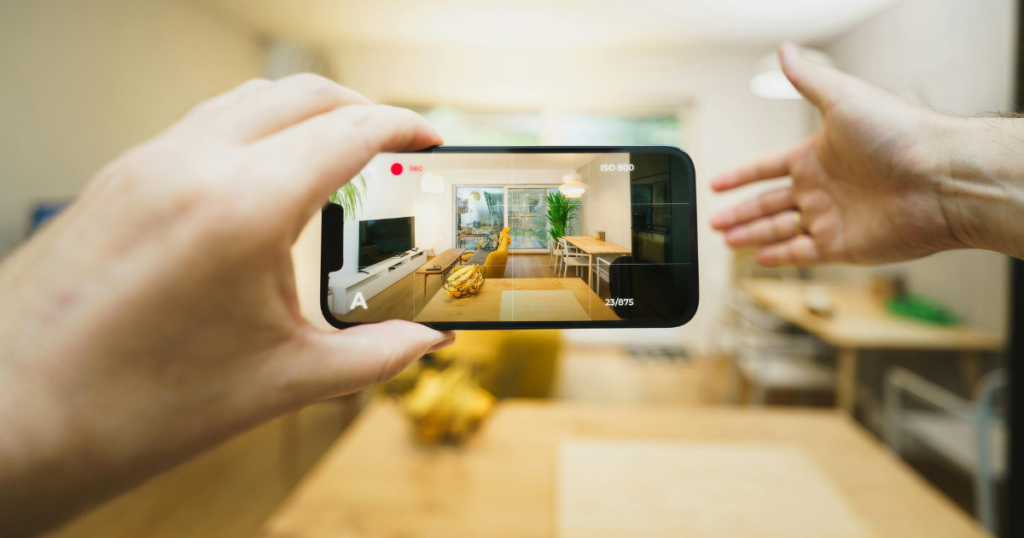
In today’s market, most buyers begin their home search online. That means your listing photos are often the first showing. A well-prepared home can stand out, generate more interest, and lead to stronger showing activity.
This guide will walk you through how to prepare your home for professional listing photos so it looks its absolute best.
Why Professional Listing Photos Matter
Professional real estate photos help:
- Increase online views and engagement
- Make your home look brighter and more spacious
- Highlight key features and upgrades
- Create a strong first impression for buyers
- Help your listing stand out in competitive markets
A properly prepared home allows the photographer to capture clean, bright, and appealing images that sell the lifestyle—not just the property.
1. Declutter Every Room
Decluttering is one of the most important steps when preparing your home for listing photos.
Remove excess items so rooms feel open and inviting. The goal is to make spaces look larger and easier to imagine living in.
Focus on:
- Kitchen countertops
- Bathroom vanities
- Living room surfaces
- Entryways and hallways
- Bedroom furniture areas
Less clutter equals stronger real estate photos.
2. Depersonalize Your Home
Buyers need to picture themselves living in the home.
Before your professional photos, remove:
- Family photos
- Personalized décor
- Highly specific artwork or collections
- Refrigerator magnets and personal notes
A neutral space appeals to a wider audience and improves buyer connection.
3. Deep Clean for Best Results
A clean home is essential for high-quality listing photos.
Be sure to thoroughly clean:
- Floors and carpets
- Windows and mirrors
- Kitchen appliances (inside and out)
- Bathroom tiles, glass, and fixtures
- Baseboards and visible surfaces
Even small smudges or dust can show in professional photography.
4. Maximize Natural Light
Lighting plays a major role in real estate photography.
To brighten your home:
- Open all blinds and curtains
- Turn on all interior lights
- Replace dim or burnt-out bulbs
- Clean windows to allow more natural light
Bright homes appear larger, cleaner, and more inviting in photos.
5. Stage Each Room with Purpose
Home staging helps define each space clearly for buyers.
Simple staging tips:
- Fluff pillows and straighten bedding
- Use fresh, neutral towels in bathrooms
- Keep décor simple and intentional
- Arrange furniture to highlight space and flow
Well-staged homes consistently perform better online.
6. Improve Curb Appeal Before Photos
The exterior is often the first image buyers see in your listing.
Before photos, make sure to:
- Mow and trim the lawn
- Remove vehicles from driveway
- Clear walkways and porches
- Store garbage bins out of sight
- Add simple seasonal touches if appropriate
A clean exterior sets the tone for the entire listing.
7. Hide Everyday Items and Clutter
Small items can distract in listing photos.
Be sure to remove or hide:
- Cords and chargers
- Pet items and bowls
- Trash cans
- Laundry baskets
- Kitchen appliances not in use
Clean surfaces create a polished, professional look.
Final Thoughts on Preparing for Listing Photos
Preparing your home for professional real estate photography is one of the most effective ways to improve your listing’s performance. Homes that are well-presented online typically generate more interest and stronger showing activity.
If you are thinking about selling, working with an experienced real estate professional can help ensure your home is positioned properly in today’s market—from preparation to photography to final sale.
📞 Ready to list your home? Contact us today to get started.